Roping For Beginners Guide
Tips, Tricks, And How-To’s For Roping Success
Welcome to the world of team roping!
Chances are you’re reading this guide because you’re either:
- Looking to improve your existing roping skills and techniques -OR-
- Wanting to steer into the sport as a complete roping beginner.
Regardless of your skill level, these team roping tips are sure to be beneficial for you. And before you know it, you’ll be heading and heeling like never before.
The information in this guide, including tips and roping techniques, are tested and true. Used by some of the best ropers in the world, you’re getting the best of the best here.
Team Roping For Beginners
Learning the ropes of, well, roping isn’t an easy task. In fact, it can take quite a long time to master it. But no need to get discouraged! Starting somewhere is better than nowhere and we’ve all been there before. While it may be a tough road ahead, trust us…it’s worth it.
Roping is one of the fastest growing equestrian sports. There are many financial rewards available and some amounts can even be life-changing. This is one of the reasons so many people are looking to master the sport.
Being a beginner team roper is hard. A novice roper has to learn to ride, rope, and then do both at the same time while running full-tilt down an arena. The learning curve is steep, but the rewards are great. Learning where to start and setting yourself up for success can make all the difference in the world. Let’s get you started on the right foot!
Before we gallop too far ahead, let’s go over some lingo you may frequently hear in the world of roping.
Roping Terminology
Barrier: The rope that’s broken by the steer when it’s released to start the event.
Box: The three-sided pen where the roper and horse start. The header’s to the left of the steer and heeler’s to the right.
Chute: The structure that contains the steer and where they’re released from. The header and heeler’s boxes are on either side of the chute.
Corriente: A cattle breed commonly used for team roping.
Dally: When the rope is thrown and wrapped around the saddle horn after a catch.
Fair Catch: A legal catch.
Flagger: The person who monitors the run and signals the end of the event.
Flanking: The act of grabbing the flank and laying the calf on its side before tying the feet.
Header: This is the person who ropes the steer’s head.
Heeler: This is the person closely following the header and the steer. This person ropes both hind feet of the steer.
Honda: Eye at the end of your rope to help create a loop.
Hooey: The half-hitch knot used to secure the tie.
Piggin String: Looped rope used to tie calf’s feet together.
In this guide we’ll share 16 beginner tips. Before further ado, let’s get started!
Tip #1 – Practice Your Horse Riding
Before you even think about nailing the ropes or get out there in hopes of catching your first steer, you’ll want to get comfortable on horseback. Everything else comes second. Because if you’re not comfortable in the saddle, you won’t be able to do much on the ground.
Familiarize yourself with your horse and learn the reins of riding. After all, you and your horse will be working as a team. Get to know your horse and master the ride before learning anything else.
If you don’t have a horse yet, we’ve got a tip that’ll be particularly useful for you. It’s next up!
Tip #2 – Buy An Older, Seasoned Horse
Finding an experienced horse to learn on is probably the single most important factor in determining a green roper’s ultimate success. Look for a horse that is well-patterned and has plenty of competition experience. The ideal mount is at least 10 years old and has a calm temperament. As a beginner roper, you’ll have enough nerves to deal with, so don’t burden yourself with a high-strung horse. Resist the urge to pay less money for a younger horse, and instead spend as much as you can afford to purchase a quality mount.
Tip #3 – Know How To Position Yourself In The Roper’s Seat
How your horse enters the field and how you position yourself for catching has a lot to do with your posture. If you’re seated incorrectly at certain times, you may not be able to get in the correct position to catch. When entering the arena, you should be sitting upright and keeping your body straight. When you’re approaching the calf, you’ll want to be in a forward position so you can rise out of the saddle for the catch.
Tip #4 – Don’t Underestimate The Benefits Of Gloves
If you’ve seen team roping in action, you know there’s a particular attire ropers seem to follow. And although you can wear whatever you desire while practicing, don’t show up without your glove. The hand you use to throw the rope should be fitted with a glove. This helps grip the rope and protect your hand at the same time.
Tip #5 – Practice With Your Rope
When it comes to roping, there’s no such thing as too much roping practice. Successful ropers are confident and comfortable when handling a rope. In the very beginning, learn how the rope feels. Try swinging it without a target. Does it feel too heavy? Are you swinging too much? Too little? Play around with the rope and change your pace to get a good feel for the mechanism of throwing it.
Tip #6 – Buy One Standard Heel Rope & One Standard Head Rope
There’s a mind-boggling array of choices available when it comes to team ropes. A novice can easily become overwhelmed trying to choose between ropes. There’s extra soft, medium soft, different lengths, strand counts, core materials. To keep it simple and cost-effective, buy one extra soft head rope and one medium soft heel rope. Practice with these at home on the dummy until you develop some feel for swinging and delivering a loop.
All ropes feel foreign and awkward to a beginner roper, so there’s not much point in fine-tuning your choice right off the bat. Once you get the hang of catching, go to the biggest rope store within driving distance. There, you can swing several different types of ropes, and your personal preference will naturally develop.
Tip #7 – Try Roping Both Ends Until You Pick A Preference
If you’ve never roped before, it’s wise to try both heading and heeling at first. You’ll likely discover that you enjoy one more than the other, and then you can specialize. It’s good to develop a foundation on both ends, though, so you can understand how a team roping run works as a totality. Regardless of which end you prefer to rope, you’ll be a better partner if you have a working knowledge of what your partner is doing too.
Tip #8 – Rope The Dummy
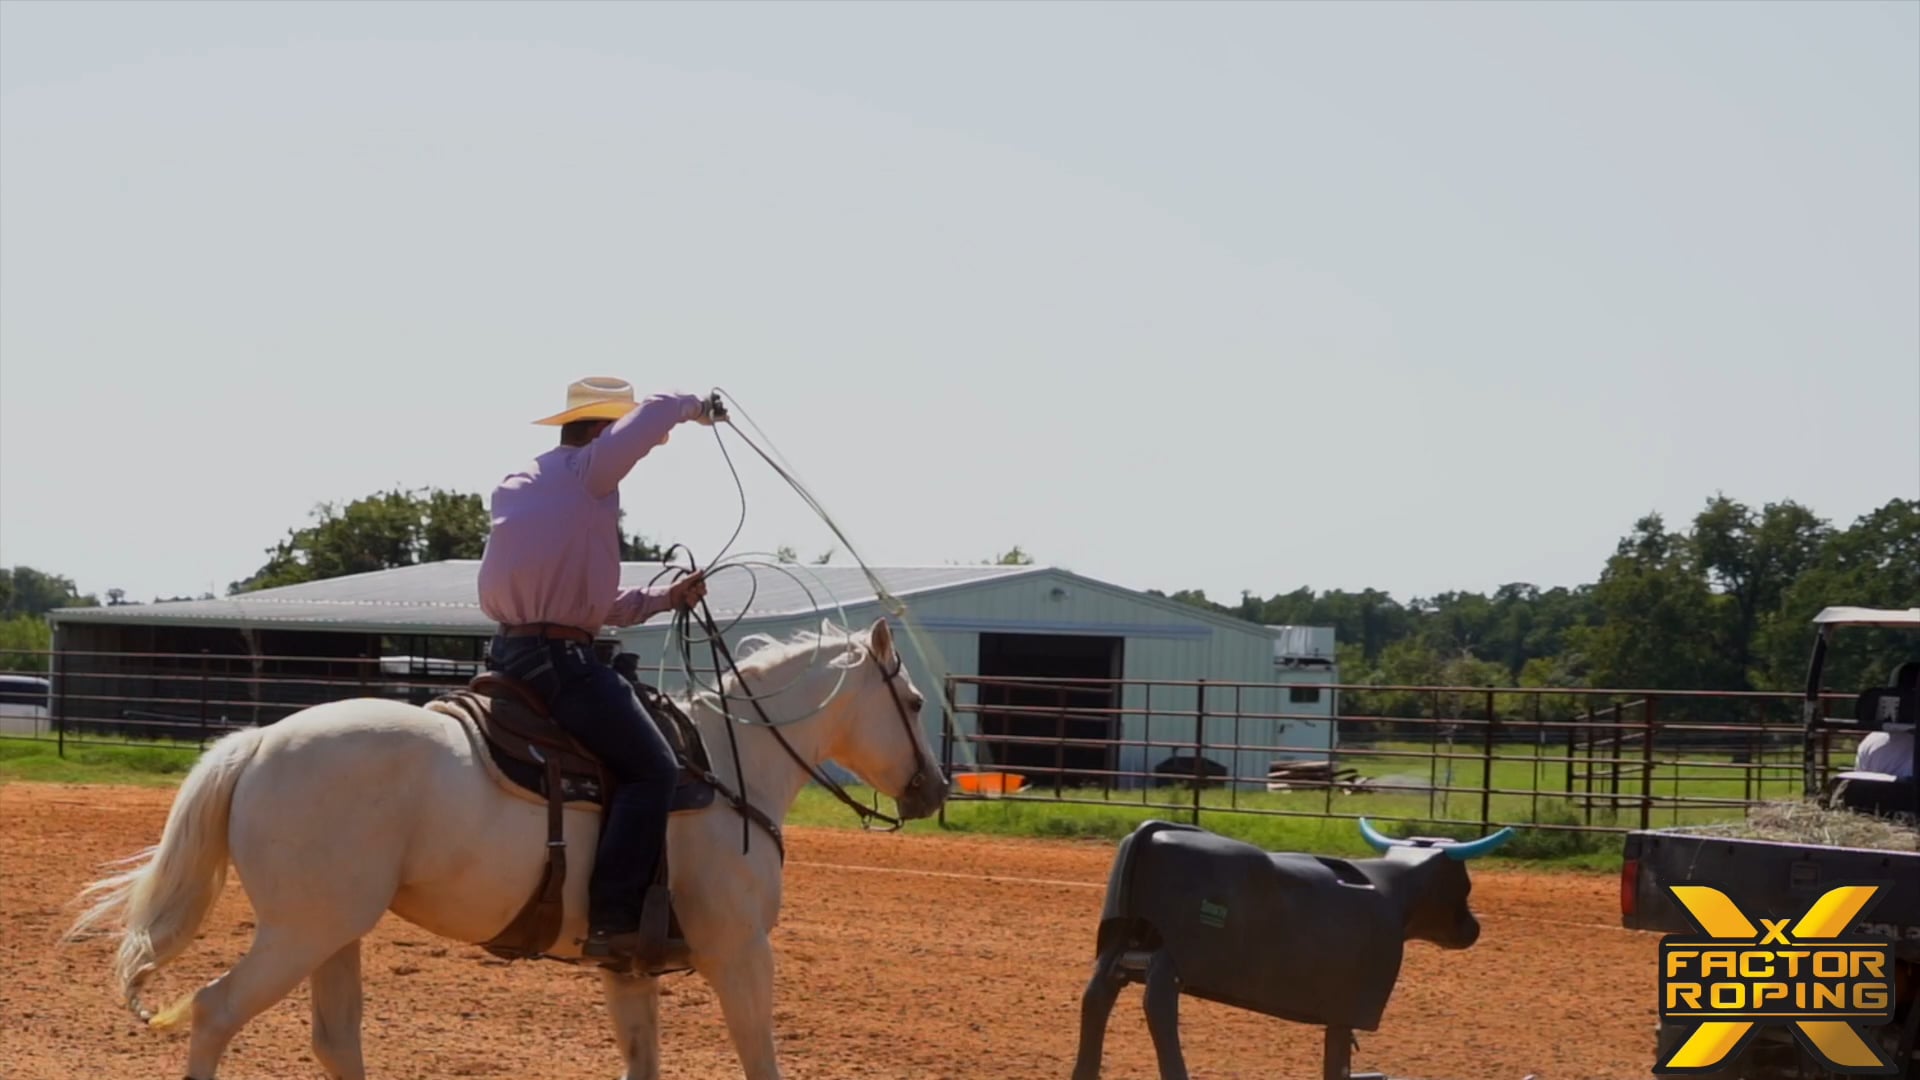
Buy a plastic steer head and stick it in the end of a hay bale to practice heading. For heeling, a simple sawhorse works just fine. Roping from the ground gives you a chance to work on the technical aspects of swinging and delivering your loop. Plus, it’s crucial for developing that all-important muscle memory. You can use a wide array of techniques, such as throwing your loop after swinging just once. This way, you improve your skills in a low-pressure, motionless setting.
Once you’re horseback and running down the arena, your muscle memory will enable you to throw a fundamentally sound loop.
Tip #9 – Properly Outfit Your Horse
Your horse is your biggest investment in this sport. And the most important piece of equipment to help bring out the best performance in your horse are the boots. Rope horses must make jolting movements; they’re quick to go and have to be quick to stop. You want to make sure those hard-working legs are well supported. Get properly fitted tendon boots and skid boots to prevent your horse’s legs from burning when stopping too fast.
Tip #10 – Invest In Quality Used Tack
Spend your money on a good horse and save money on tack by buying everything secondhand. There’s a ton of quality used gear available for a fraction of what it would cost to buy brand-new. Sit in a saddle on the rack first to make sure it fits your body, and make sure it fits your horse before shelling out the dough. If you’re unsure about saddle fit, do some research or ask a more experienced friend for advice prior to purchasing.
Tip #11 – Learn About Tack Use & Proper Fit
Your human partners come and go, but your horse is your partner every single time you back into the box. When you buy your older, seasoned horse, ask the seller what bit he works best in. Don’t try to transition him into a different bit; just buy what he likes and use it. Find out if he likes a tie-down, and if so, how to adjust it. Ask the seller about what kind of saddles fit the horse best and what kind of pads keep him the most comfortable.
Tip #12 – Learn How To Dally Safely
There’s a ton of information about how to swing and throw a rope, but don’t overlook another crucial factor: learning to dally safely. Dallying is the act of wrapping the rope around your saddle horn. It sounds simple, but remember that you are riding a running horse and the other end of your rope is firmly attached to a 700-pound steer. If you aren’t careful, you can easily trap one (or more) of your fingers between the rope and your unyielding saddle horn. When the rope comes tight, it will cut off whatever digits are trapped.
Tip #13 – Learning To Dally Safely On The Ground
You can sit in your saddle on a rack (or mounted on a standing horse) and have another person run away from you holding the end of your rope. Practice dallying in this slow, controlled environment before you attempt it in a high-speed situation.
Tip #14 – Join Your Local Roping Club
Most community arenas have a local roping club. Find yours, pay the fee, and commit to attending weekly practice sessions. As a paid member, you’ll have access to live cattle on a regular basis and not feel like you’re imposing on someone as a guest at their private arena. You’ll be able to meet local ropers, learn from the more experienced guys, and find partners for local jackpots.
Tip #15 – Video Your Practice Sessions
The ability to see your own swing, delivery, and posture is invaluable in terms of self-improvement. You can have a friend video your roping – both on the ground and on live cattle – or you can use a tripod and remote control to video yourself. Viewing your own videos is helpful, and if you’re an X Factor Roping Pro Member, you can also upload them to the Online Coaching Facebook Group to get advice from NFR Qualifier Ryan Motes and the other expert coaches.
Tip #16 – Find A Mentor
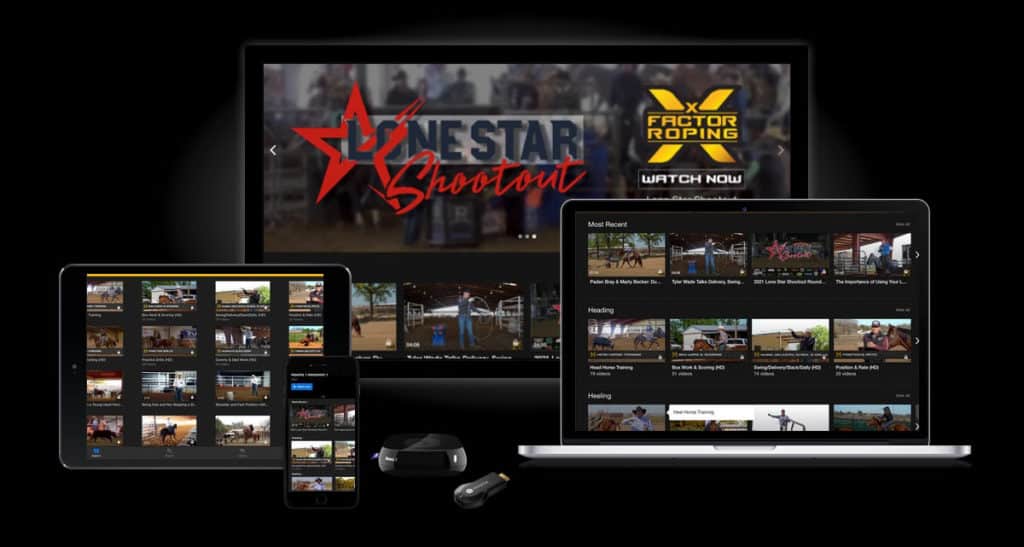
Having personalized help is invaluable for advancing your roping skills. This can come in the form of a more experienced local roper, but adding a virtual coach expands your opportunities for improvement. Learn more about everything an X factor Roping Membership provides including immediate access to over 2,500 training videos, online coaching from the pros, and other online learning resources. Plus, team roping is a fun, social sport, and making friends – both online and in real life – helps to round it out as a great way to spend your money and your weekends. Want to know more about the history of team roping, how it’s judged, and what makes a winning team? Read The Art Of Team Roping.
Your Ultimate Purpose
If you truly want to become a competitive roper, practice will be your best companion. There’s no such thing as too much roping practice. Whether you’re looking to improve your timing or clean up your roping techniques, pairing practice with the tips above will yield some pretty great results. Whether you’re a complete roping beginner or have wet your feet a little, you’ll benefit from these 16 tips and roping techniques. In time you’ll greatly improve your skills.
Looking to set yourself up for the ultimate success? Join X Factor Roping and learn from the best ropers in the world including 3-time world champion Jade Corkill, 3-time NFR qualifier Tyler Wade, and 3-time NFR qualifier Buddy Hawkins.
Your membership is a one-stop-shop for the best team roping resources – no matter what skill level you’re starting off from. Streaming live roping events, access to training videos, and online coaching is just the tip of the iceberg with an X Factor Roping membership. Everything you need to become a successful roper is conveniently at your fingertips.


